Building a Schedule
Slots first, then the schedule, then the grid. Publish when it's right.
Step 0: define your slots
Slots live in Settings under Work Schedule Slots and are reused across every schedule. Each slot has a Name, Pay Code, optional Job Code, Start Time, End Time, a Color Code for the grid, and an Overnight? switch for shifts that run past midnight. A restaurant might have Morning, Evening, and Closing; a security firm might have three 8-hour watches. Define them once.
Creating the schedule
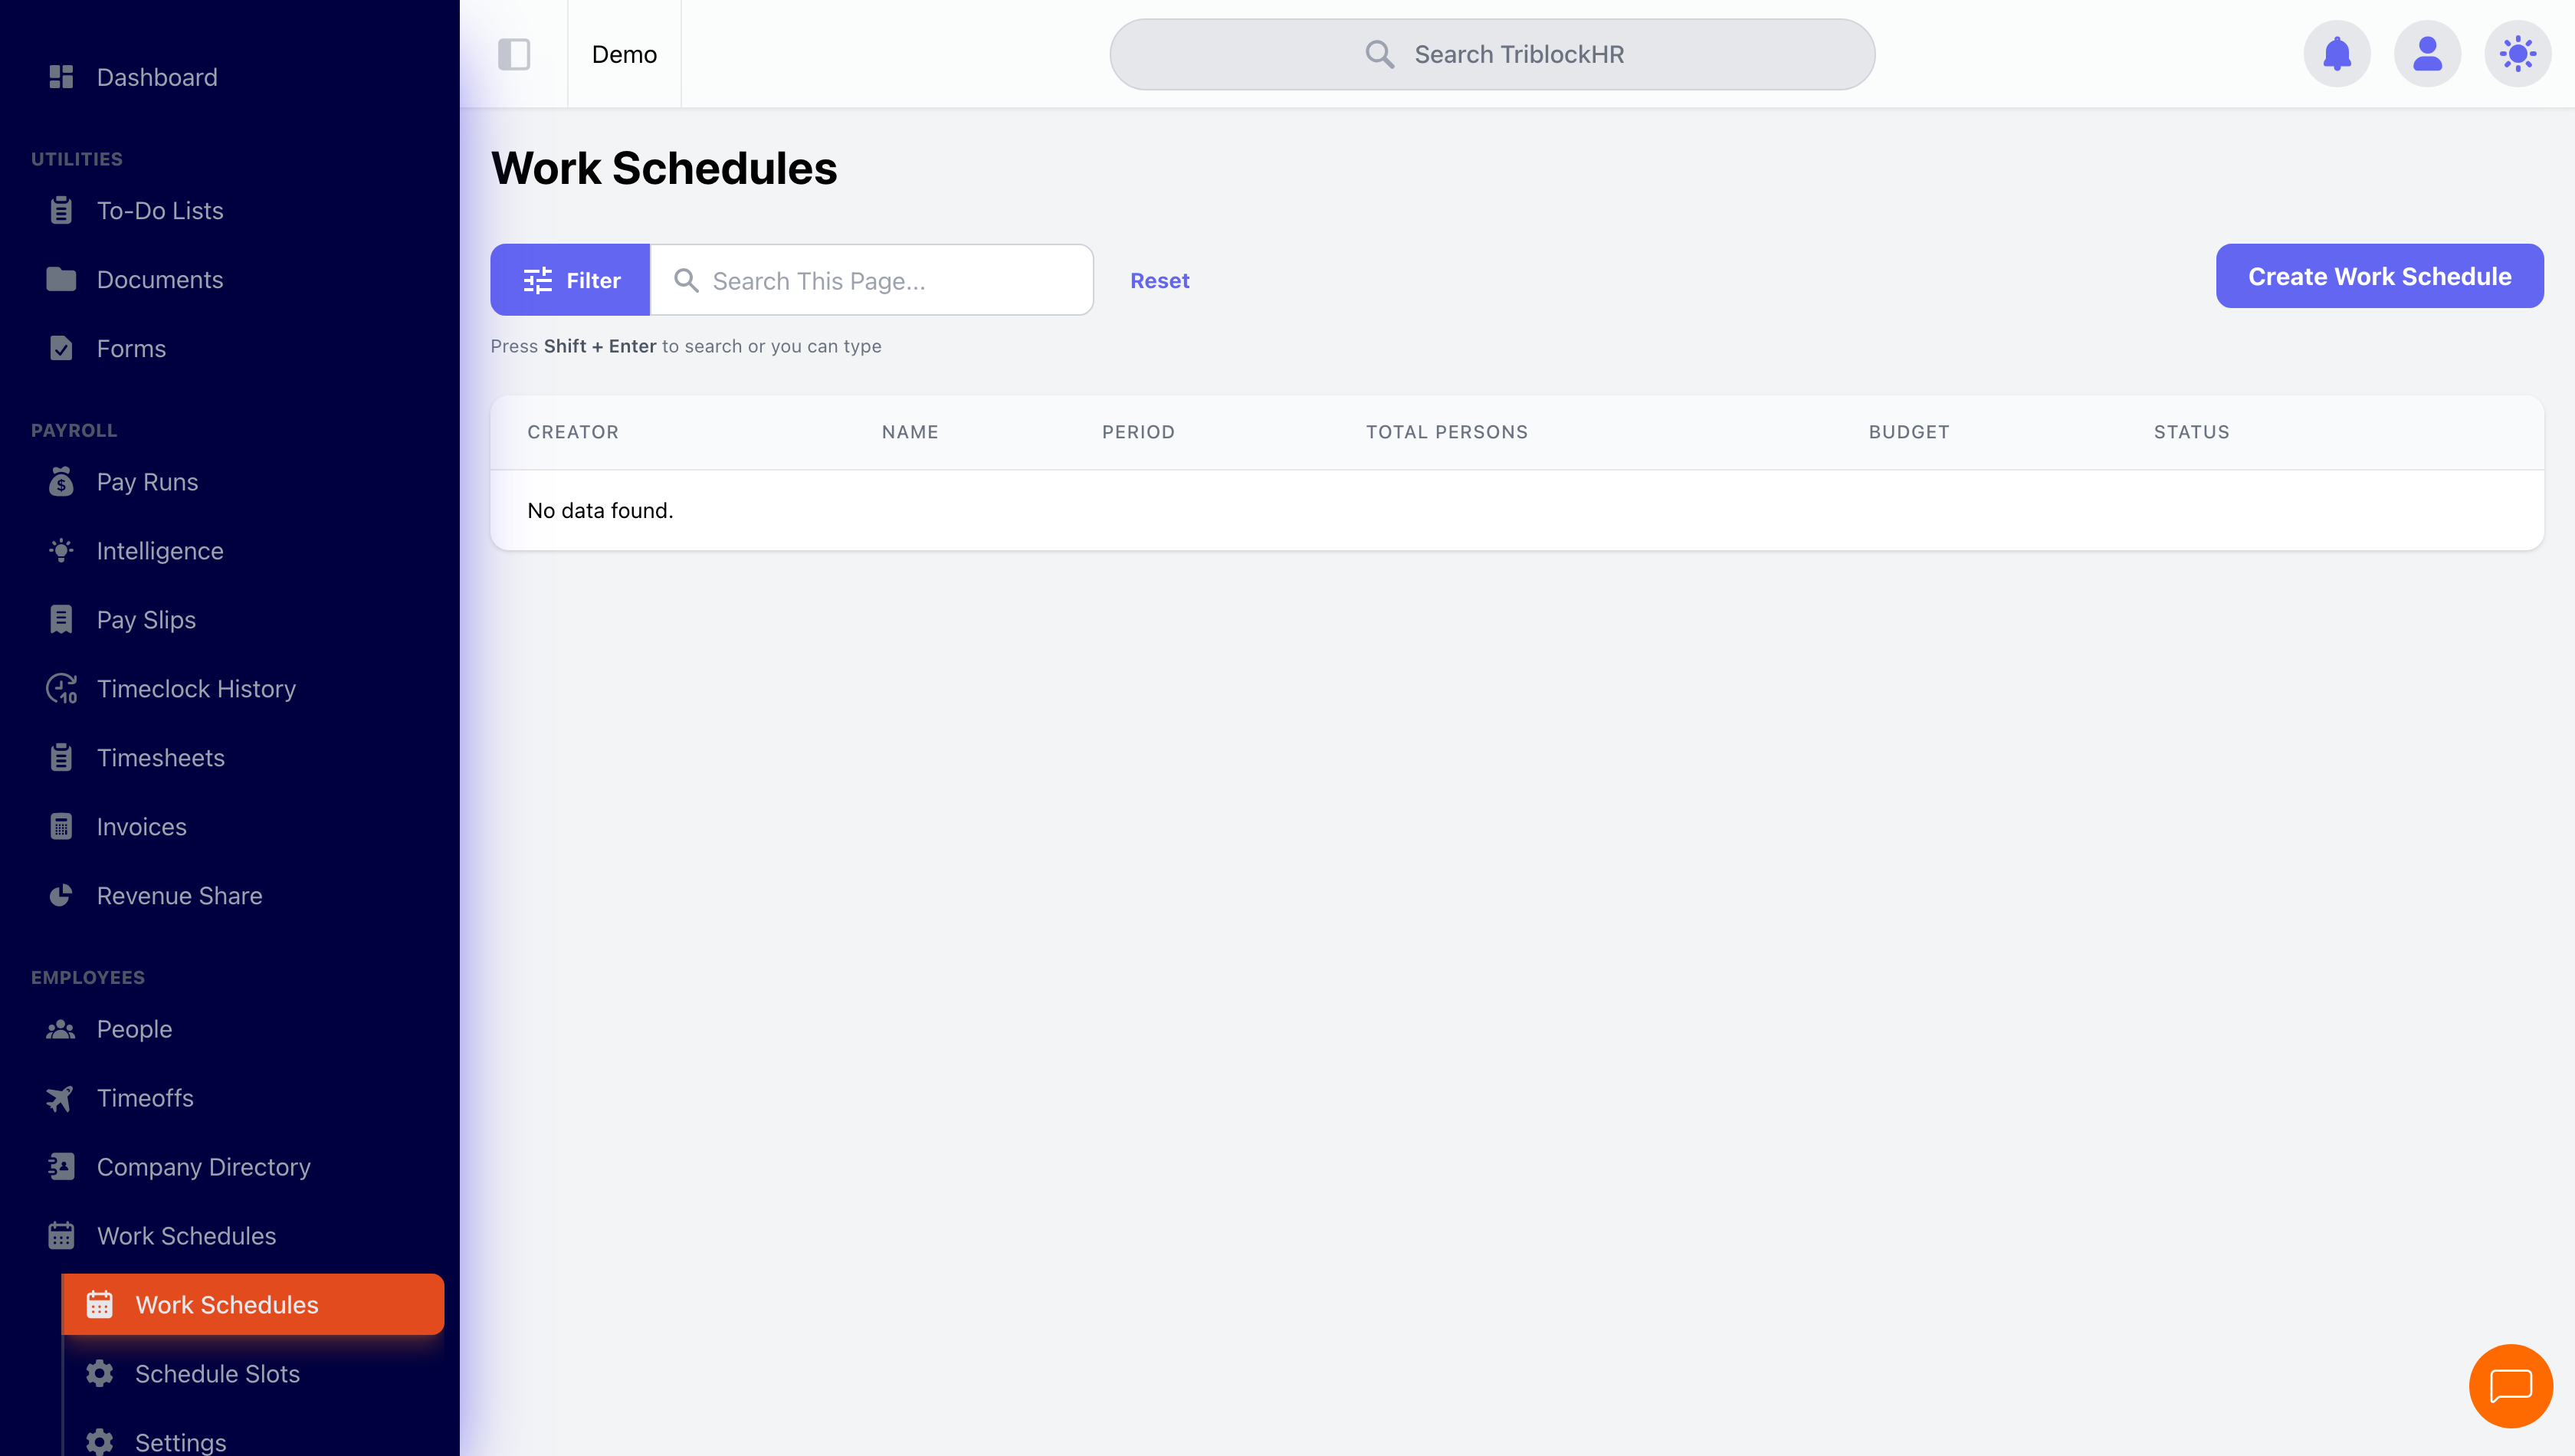
- On Work Schedules, click Create Work Schedule.
- Set the Schedule Name, Shift Manager(s), Schedule Budget, and the Start Date / End Date.
- Optionally filter who's included by Department(s), Division(s), Employment Level(s), and Work Title(s). These filters lock after creation — to bring in someone outside them later, use Add additional users on the schedule.
- Click Create Schedule.
Filling the grid
The schedule view is a grid: employees down the side, days across the top, your slots in a panel on the left. Three ways to fill it:
- Drag and drop — pull a slot from the panel onto an employee's day.
- Bulk add — Bulk add shifts assigns one slot to multiple employees across multiple dates in one go. Duplicates and third shifts are skipped and reported ("2 skipped (already at 2 shifts)").
- Import — Import schedule under the Options menu accepts a filled template; shift cells use the slot name and times ("Morning, 06:00 AM - 02:00 PM"), "OFF DAY" or blank for none. Importing replaces all current shifts in the schedule.
Double-click any placed shift to fine-tune it: name, notes, times, pay and job codes, scheduled overtime hours, or the overnight flag. Each employee tops out at two shifts per day. The grid overlays warn you about TIMEOFF, HOLIDAY, birthdays, and suspended employees, and rows highlight green when someone has leave during the period — schedule around the markers, because nothing stops you from scheduling over them.
Saving and publishing
Save stores your shift placements (the confirmation reminds you to check for unassigned slots). When the schedule is ready, Publish makes it live: every scheduled employee is notified in-app, by email, and on Slack where connected, and the shifts appear in the My Shifts widget on their dashboards.
Cloning
For recurring patterns, open a finished schedule and click Clone Schedule: give it a name and new dates, and the shifts copy over. How they map to the new dates depends on the Schedule Cloning setting — Aligned by Weekday keeps Monday shifts on Mondays; Dates sequentially copies day 1 to day 1. If a clone lands oddly, that setting is the first thing to check.
Build and publish a week's schedule (5–6 min)
Save as: admin-guide__schedules__building__vid1.mp4